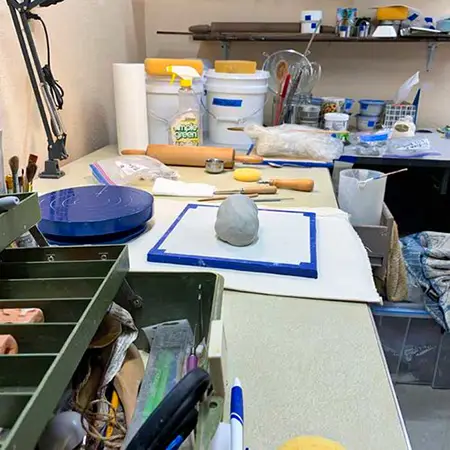
Working on a new animal series at my dedicated work space.
The title of this post is a mouthful but creating a dedicated space to do work, especially creative work, is important. Whether it’s the visual arts or writing or any form of artistic endeavor – magic occurs when you have a space or place dedicated to expressing yourself.
Sometimes it’s a corner in a room with a table and lamp or even a shared space such as the dining room. When I was focusing on just my watercolors, the space I needed was nominal. Now that I have returned to ceramics, a bit more is needed for space – there are wet areas, dry areas, storage areas, a place to throw or hand build, and a place to fire a kiln and to store all the necessities that comes with it!
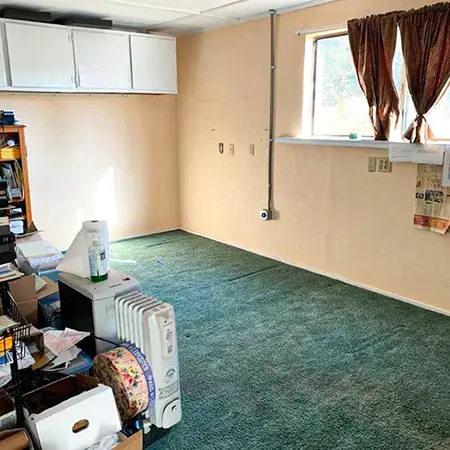
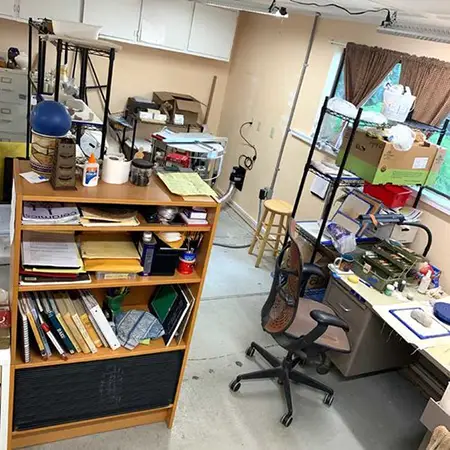
I am very fortunate to have a nice size room off of my garage. It was once an office, so some changes were in order.
The biggest challenge in the changeover was to take out the carpet. Carpet and clay do not play well together because the goal is to keep the (silica) dust levels as low as possible, thus it had to go. It was cumbersome, but once the pulling began, it came up fairly easily. Whew!
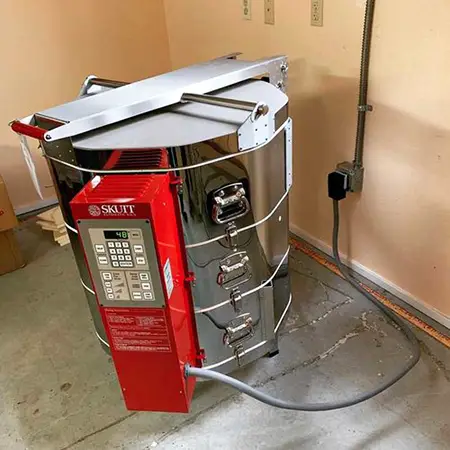
The biggest expense was the electric kiln. I had looked at used ones, but by the time I upgraded it with new heating coils, environmental ventilation, wiring, etc., getting a new one on sale was not much of a savings in cost.
Then there was upgrading the electrical with a dedicated circuit to power it. And adding an exhaust fan to pull out the ambient heat and fumes. It adds up!
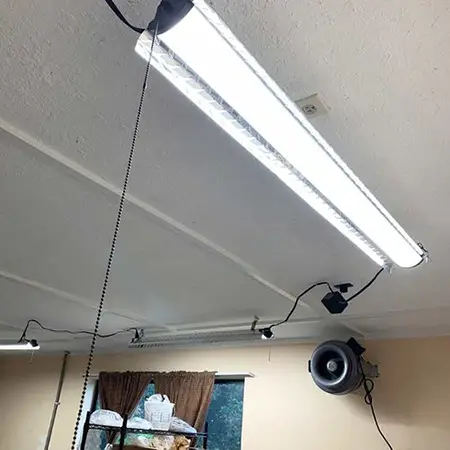
Putting in more lighting was something that was essential also. You need good light to create most anything – no mood lighting here!
What worked really well in my space was a set of daisy-chained LED workshop style lights. Light-weight and cost efficient. The bonus is you can turn individual ones off by pulling the long chain that dangles from each unit, in case you don’t need to light up the whole room.
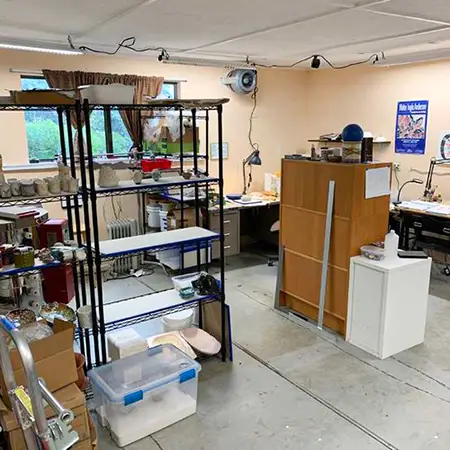
The rest was like working a puzzle – I just had to figure out where all the clay studio essentials ought to go.
My principle work area.

Drying racks for green-ware. More shelving in the background to hold the necessities for the kiln.
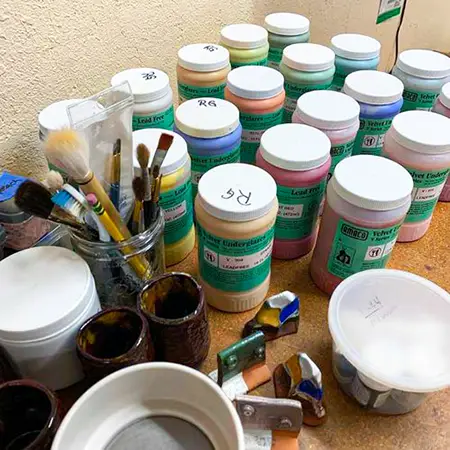
There was the work table, the drying shelves, the glazes, the wheel, and all the odds and ends used in making ceramics.
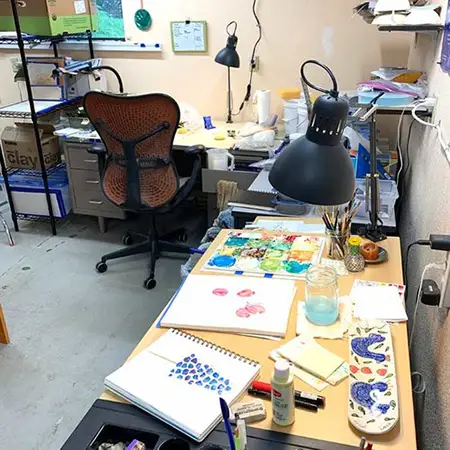
I even made a space for my drawing table, where I continue to do my watercolors. Also, it’s a good space to sketch out my ideas and work on color palettes for future ceramic wares too.
The upshot is now I have a space dedicated to my art work. When I walk in, flip on the lights, I go straight to work. No need to clear off an area previously used for day-to-day living. It’s my studio – a work in progress and my space for creating art.