I love to decorate the exterior of my ceramic wares. I approach it as a painter with a blank canvas – the possibilities are almost infinite. Before I had been creating some image transfers (this process involves painting designs on paper then transferring those designs onto clay slabs – more about this in a future blog post!) when the thought occurred to me – why not paint a whole slab of clay, cut out small tiles and make a composite design from those? Yes, why not.
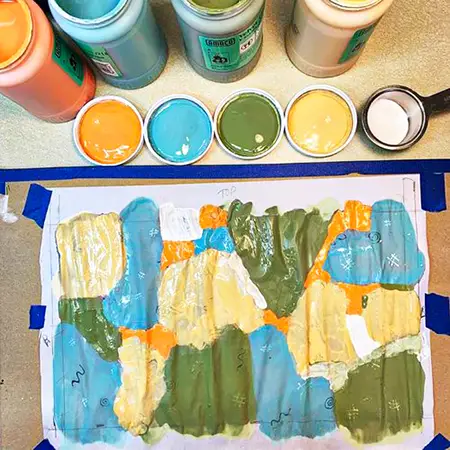
First things first. I picked out some underglaze colors I thought would work nicely together: turquoise blue, avocado green, bright orange, straw and white. I didn’t have a design in mind – I just began applying the glaze onto the newsprint.
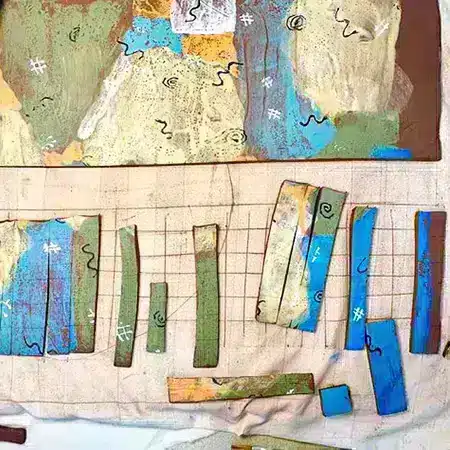
After the underglazes dried a bit, I transferred the ‘painting’ onto a thin slab of clay and began to cut it into strips of various widths. The strips were then cut into smaller pieces I refer to as tiles.
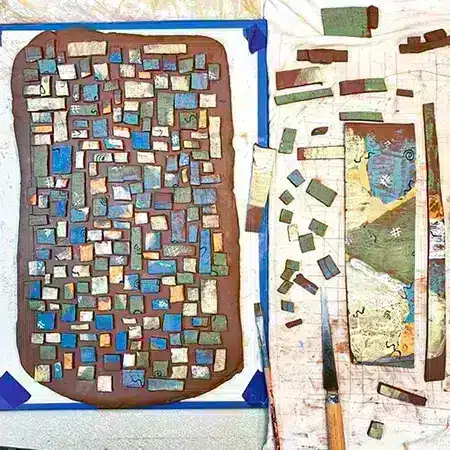
In a way, each tile is itself a miniature abstract painting. These are individually placed onto a thicker slab of clay. As I build the design, I look to see how the different shapes interact with each other and also the color.
A bit more blue here, a pop of orange there. It’s almost meditative, as each tile is scored, slipped, and placed. Sometimes I work with music playing in the background, but more often I work in silence. My mind stays present, only reacting to the placement of each small block of color and what goes where next.
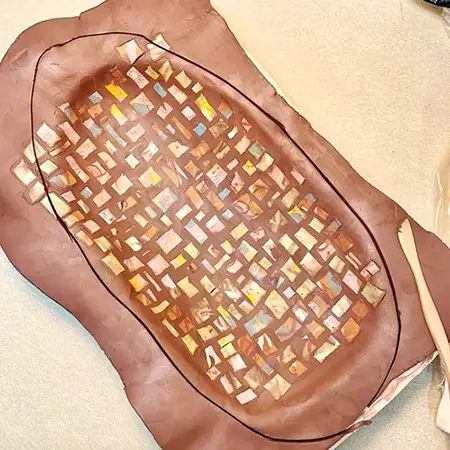
When the area is covered, I place a piece of cloth over the design and roll the layers together as one before placing into a slump mold, where it is gently pressed to fit the dried plaster form. Lastly I cut through the clay slab with a wooden knife to give the platter its defining edge.
After drying, each is placed in the kiln for a bisque firing to remove the moisture from the clay and to fuse the clay particles together.
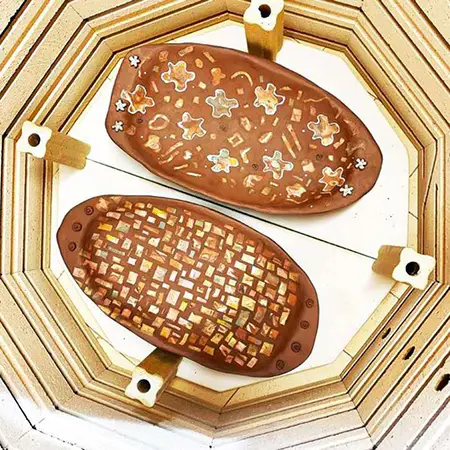
Next step, an overglaze is applied that in this case will determine the surface, whether it’s glossy or has a matte sheen (or somewhere in-between) and fired one last time to make the finished product. What I enjoy so much from the process of making the mosaic tile pieces is that each is unique not only because of being hand built, but also because each small tile is one of a kind also. The possibilities on how each mosaic design comes together is magical!
See the collection of finished pieces from this process.
This 1-minute video takes you through my process of making a ceramic vessel decorated with a mosaic design using handmade tiles made from underglazes and clay.