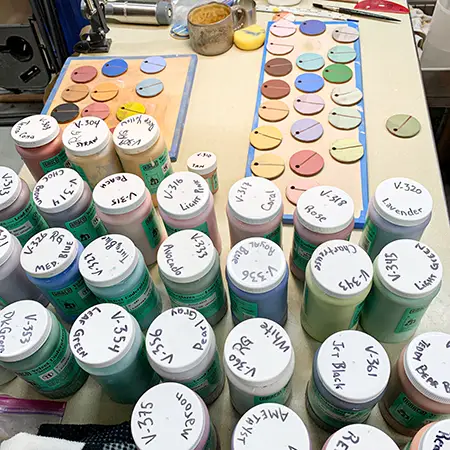
I use a lot of different underglaze colors when decorating my ceramic wares. Whenever I find a new clay body I like, I make a new set of test tiles with my different colors and combination of colors. Why you might ask? Underglaze reacts differently on each clay body and also to temperatures fired. A lot of time is spent in each of the hand built pieces I make, so I like to have an idea how it might look after it is fired. For this series of test tiles I will be using Amaco’s Velvet Underglazes.
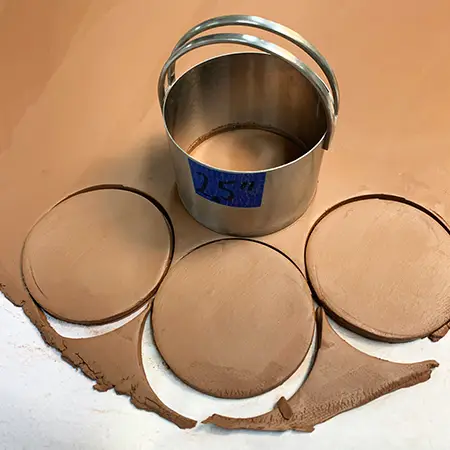
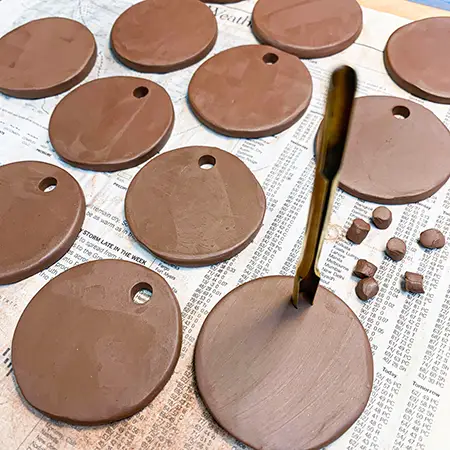
First, I make the test tiles by rolling out a slab of the clay – I’ll be using a low fire Red Art terra cotta clay for this test. I roll out a slab of Red Art and cut 2.5” circles. After cutting, I drill a small hole through the wet clay so I can hang them once they are finished.
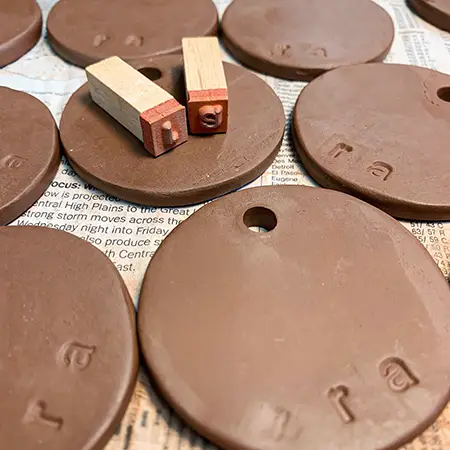
Next comes the identifying marks on the back: “r a” to signify the type of clay it is – Red Art. Then, with an etching tool, I write the glaze number: V-314 stands for Amaco Velvet underglaze 314 (chocolate brown). I often will blend two underglaze colors together to come up with a new color. I make sure to note each color used and its ratio.
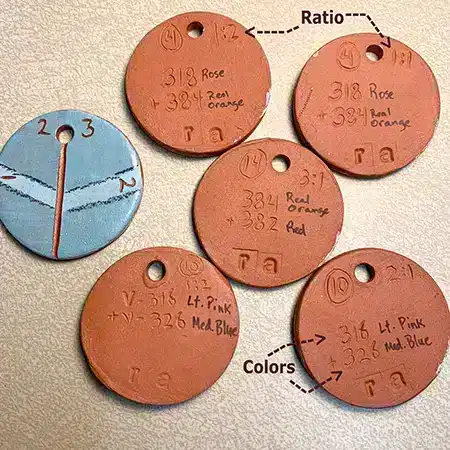
When blending 2 or more colors, it’s important to record the ratio of the color blends.
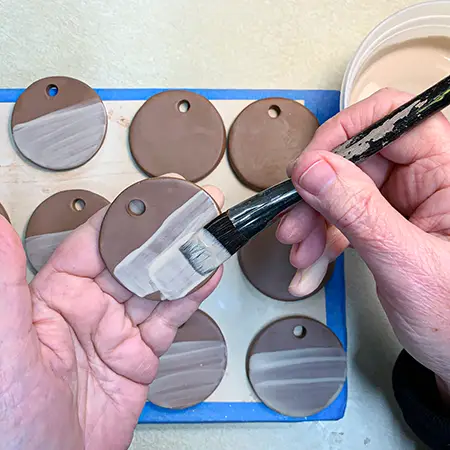
Then I prepare the surface for the glaze. Often I add a white slip to the red clay before adding an underglaze color, so I want to know how the underglaze will look on top of a white slip too, thus each round tile has two surfaces. One side has 1 coat of white slip, the other has 2 coats of slip. I carve a dividing line straight down from the hole in the disc to separate the colored underglaze coats I’m about to apply.
Next come the colors. One half of the tile disc gets 2 coats of color while the other gets 3 coats. When the coats of underglaze has dried, I carve in a number to reflect the layers: 1 and 2 for the white slip and 2 and 3 for the underglaze color, as you’ll see in the video below.

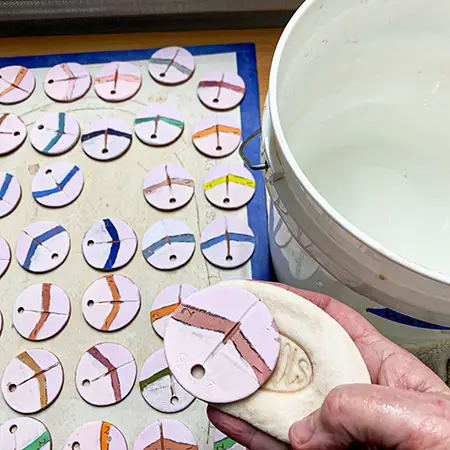
After their initial bisque firing, I use an underglaze pencil the mark off the areas where I will be applying a glossy glaze, no glaze, and a clear matte glaze. Then I apply 2 coats of a clear gloss glaze (Amaco’s Clear Transparent LG-10) on the top half of the disc then 2 coats of a matte glaze (Mayco’s Matte Transparent C-300). Again, I’m looking for information and will be referencing these color test tiles when it comes to decorating the surfaces of my clay wares. Invaluable!

Because these will lie flat on the kiln shelf during firing, I make sure to wipe the bottoms and sides of each disc so there won’t be any sticking accidents. I fire the load at cone 05 – same as I do for my wares made from the Red Art clay. Since these are used to help me choose my palette, I want to make sure the test tiles are fired in the same manner as the finished pieces.
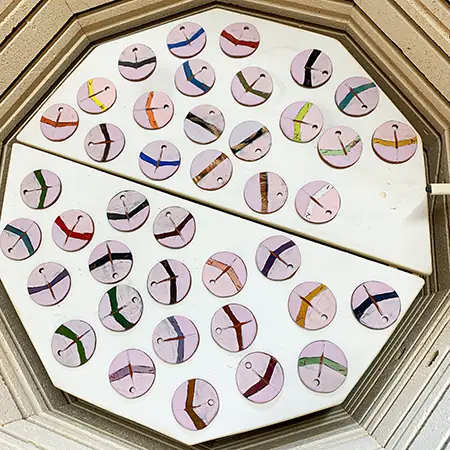
Here are a few results of the finished test tiles, using Amaco’s Velvet underglazes. Some are colors straight from the jar, others are blends using different ratios of two colors. Now I can make good color choices when it comes to decorating the surfaces of my ceramic wares.
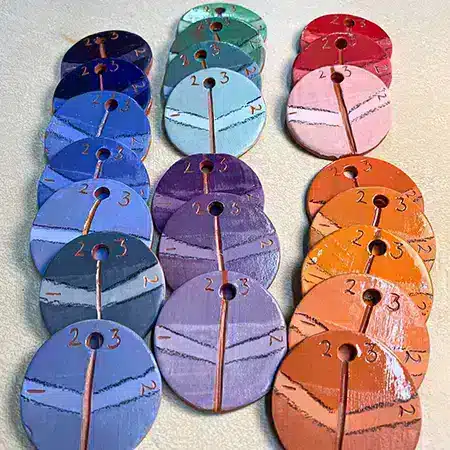
A sampling of some of the finished ceramic test tiles. The upper half has a clear gloss glaze, the lower half has a clear matte glaze covering the underglazes.