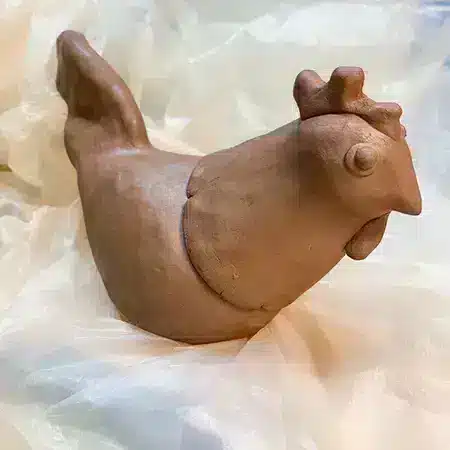
I’ve been making ceramic chickens for several months now and each one has been a delight to create. Their unique character comes out through the tilt of its head, the way it looks at you, and the colors and marks I add right before their final firing in the kiln. But the basic body of the chicken is made the same way – I turn a pinch pot into a chicken. Here’s how:
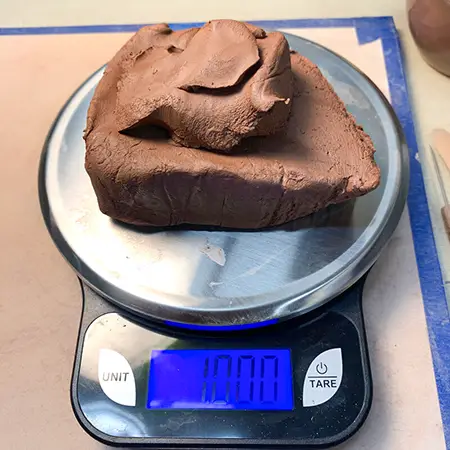
Weigh out one pound of clay. A larger chicken takes more clay, a smaller chicken, less. I find starting out with around a pound of clay is a good place to start. It’s manageable and makes a nice size chicken that will fit very nicely in the palm of your hand.
Make a pinch pot from the ball of clay. They are easy to make, but if you need a refresher, watch the short video.
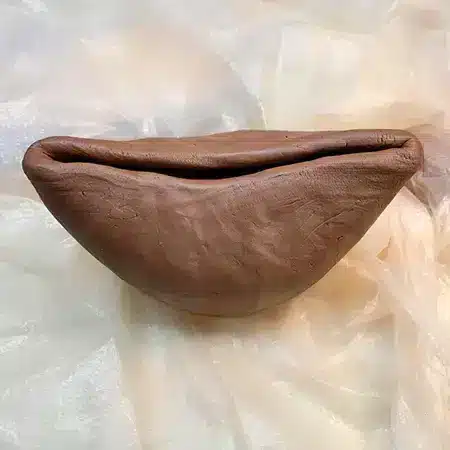
Take your pinch pot and create a boat shape by gently pressing opposite edges together. Not too fast or too hard, or it may crack.
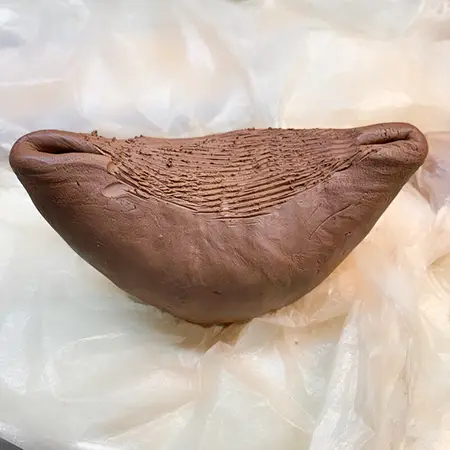
Score and slip these edges together.
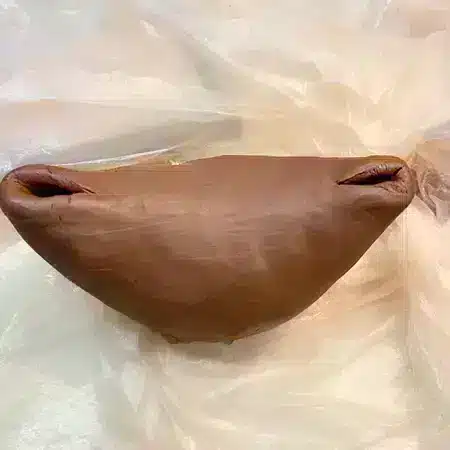
Join the two sides together by smoothing over the clay with your fingers or a flexible rib. This will be the chicken’s main body.
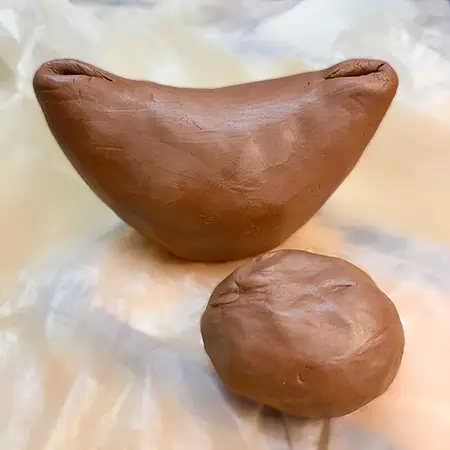
Grab approximately 1/3 pound ball of clay…
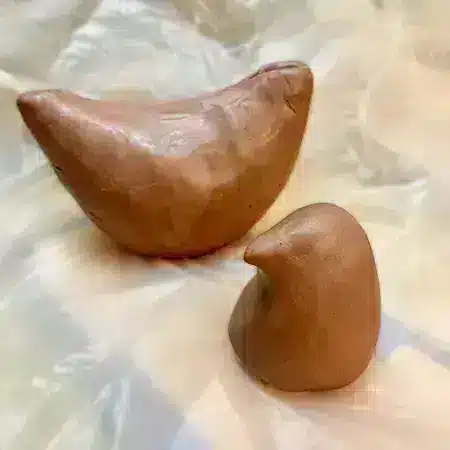
…and form a head. Rounded at the top and flaring out a bit at the bottom. Pull a small portion of clay out from the head to represent the beak.

Hollow out the head using a loop tool. Check the thickness as you remove clay. You want to try and keep the wall thickness similar to that of the body.
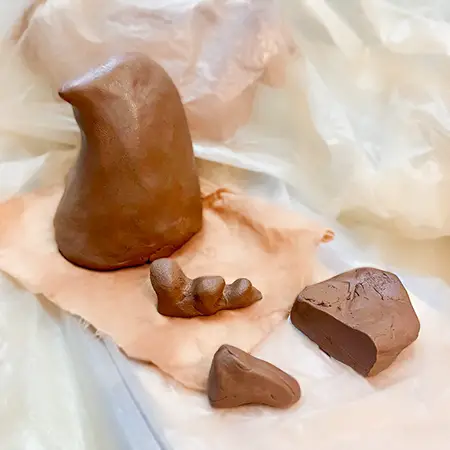
Save hollowed bits for comb, wattle, and eyes. Knead the clay together to work out any air pockets and cut off portions to form the facial details.
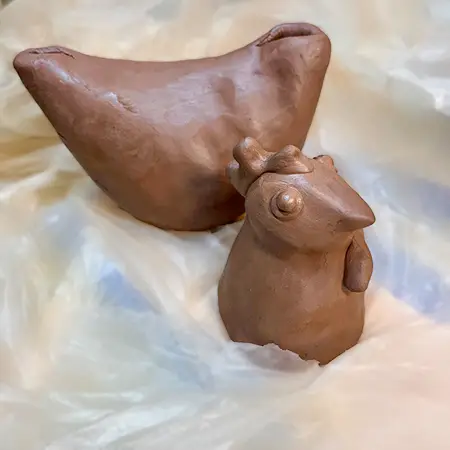
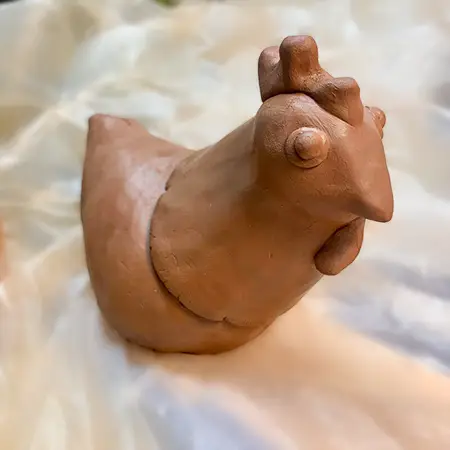
Score and slip comb, wattle, and eyes to the head.
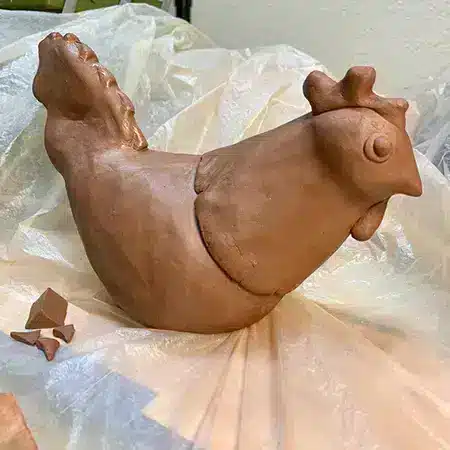
Score and slip the head and the portion of the body where the head will rest; when adjoining, the two should fit snuggly together.
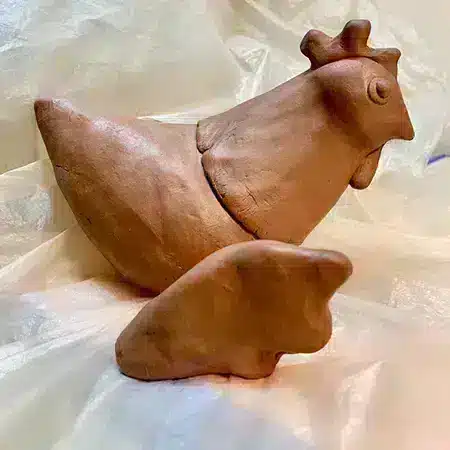
Form the tail from a small ball of clay.
Score and slip, attach it to the body, then smooth together.
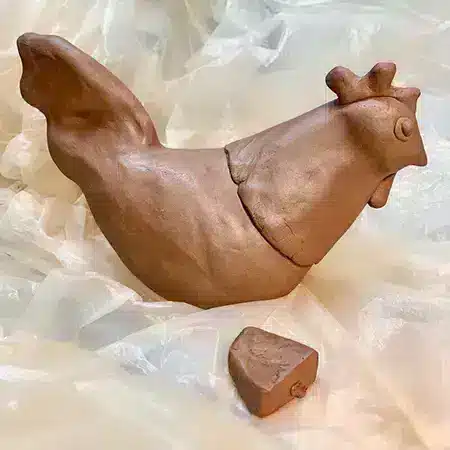
Use bits of clay for decorative details, either to the tail, the body, or the head.
Here, details were added to its tail feathers.
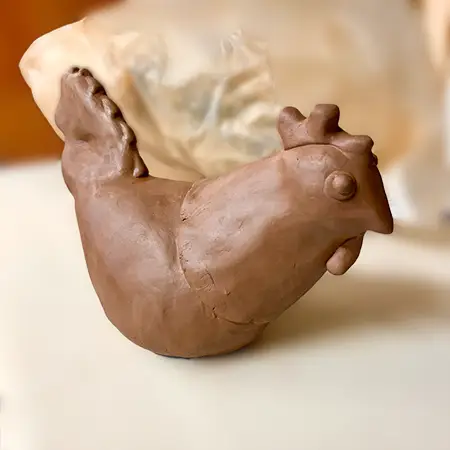
Place on shelf and cover lightly with plastic to dry slowly. When it is fully dry it will be ready to be bisque fired.
If you’d like to see some finished chickens, please see (and meet!) them below. After they are made and fired, all my chickens are named – and they each have their own story. Please visit them, and read their story – I know they would love to say ‘hello’ to you!